DE: Dieser Blogpost richtet sich an das YouTube-Team, da mein Kanal in der Vergangenheit immer wieder demonetaresiert wurde und die Erstellung meiner Videos und Audioaufnahmen einen unglaublichen Zeitaufwand mit sich bringt. Falls ihr einen kleinen Einblick hinter die Videos wünscht, könnt ihr natürlich auch reinschauen : )
ENG: This blog post is mainly aimed to the YouTube team due to the reused content policies – here I am collecting some proof of behind the scenes material for some of my videos, as well as how I create my ambiances, sounds and recordings. I know that in my niche it’s hard to prove or show the creation process, so I will regularly keep you posted here and show you some behind the scenes and creation processes. Enjoy!
Cozy Lighthouse Ambiance – An Example for Animation and Sound Design
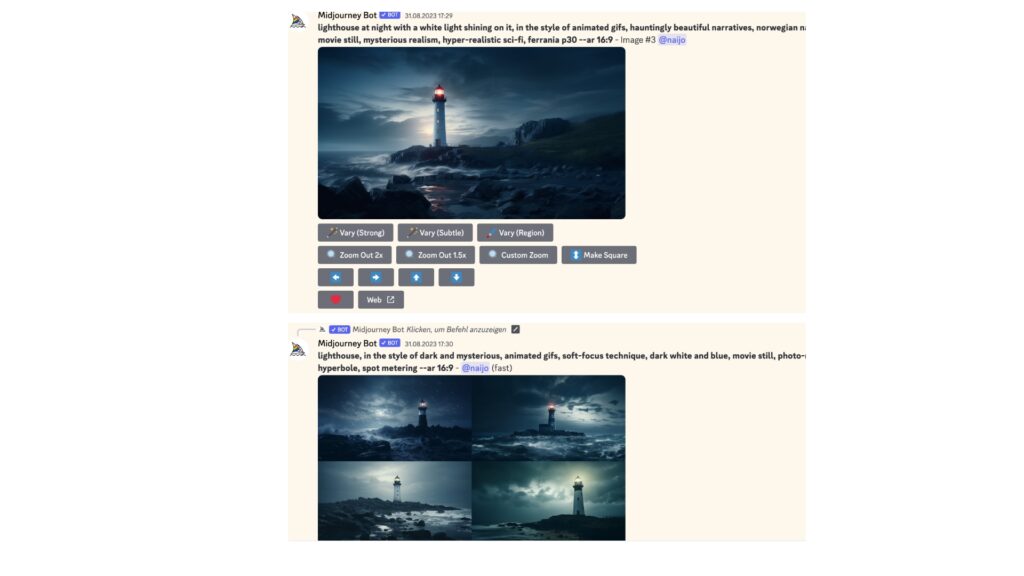
(Video: https://youtu.be/QfFIeBbilOY?si=1SInBScfEzPlVsaw) With the lighthouse ambiance I wanted a scenic outside view of the lighthouse in the first few seconds, and then a cozy interior where the sounds can be heard in the distance. So I created lots and lots of prompts with mid journey. Here are a few:
Next were the prompts of the interior. I did around 60 generations until finding the one that fitted my original vision. After refining it using Photoshops AI gen tool and Pixelmators Repair tool to edit out minor errors of the prompt, I animated everything.
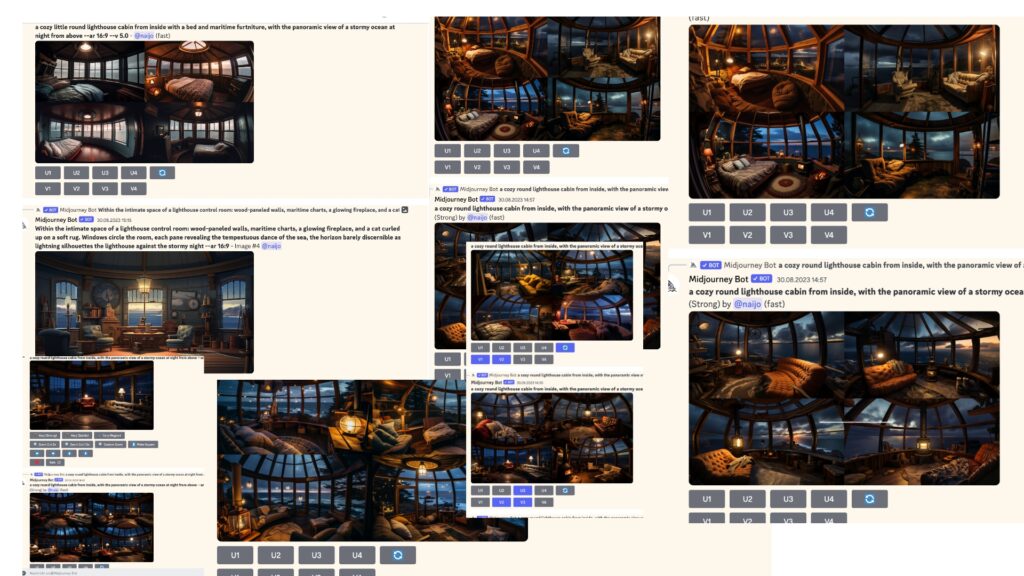
This time I made the animation fully in Davinci Resolve. Using around 10 different layers of Rain VFX, Rain Drops, a 3D Ocean and more assets it was finished!
Sound Design
– For the rain I used a stereo recording that I did with the Sony UWP-D27 to have stereo imaging.
– I used an own mono Ocean Sound recording that I did 3 years ago
– An Apple Wind Sample, however with a low-pass-filter on 2000 khz (that’s the creaking)
– And a Brown Noise sound that I created using the Logic Pro test tone oscillator, with added reverb
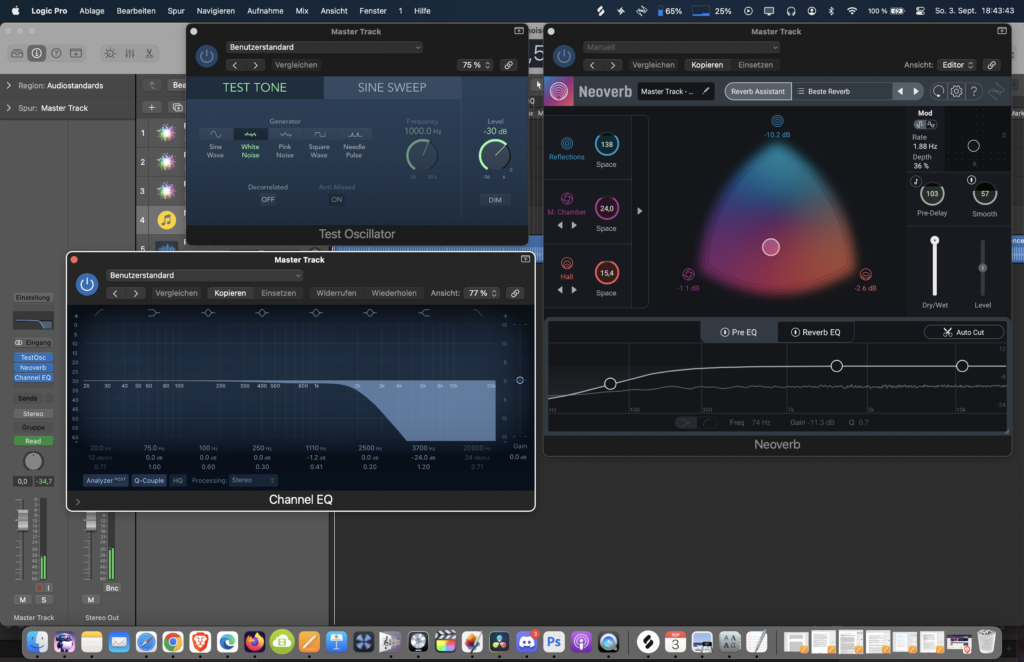
Step 1: Test Tone, Step 2: Neoverb with my Preset, Step 3: EQ (I know this technically isn’t exactly the brown noise frequency, bit it gets close)
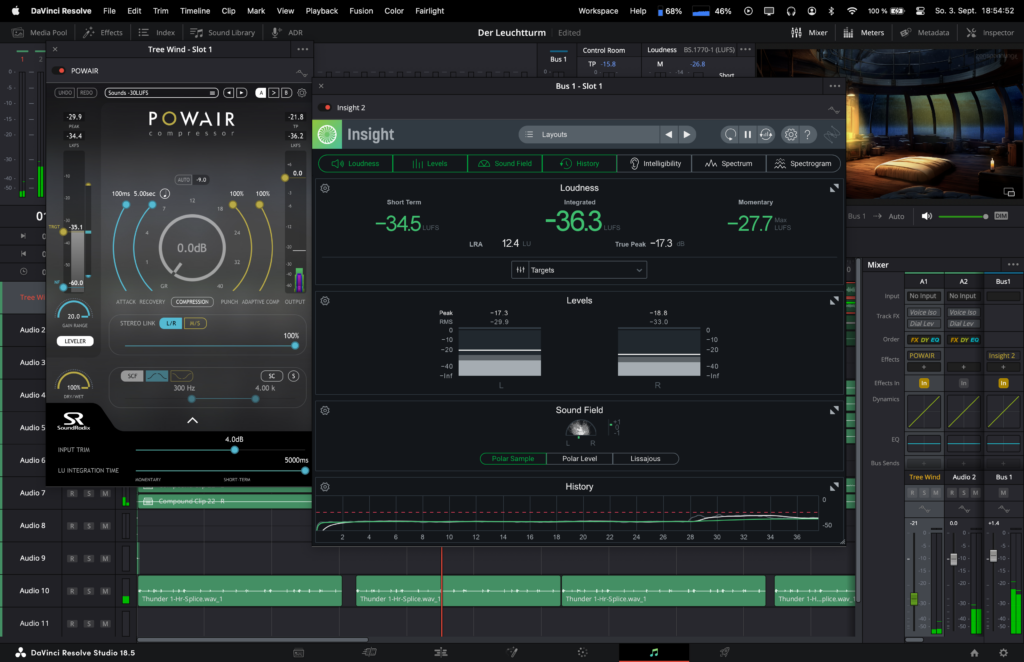
After Mixing and Mastering, I aimed for a loudness of -32 LUFS, which is below my usual -23 LUFS and way below the recommended -14 from YouTube, but since sounds are naturally perceived more quiet, I feel this loudness better emanates the „real world“, so something I will go forward with!
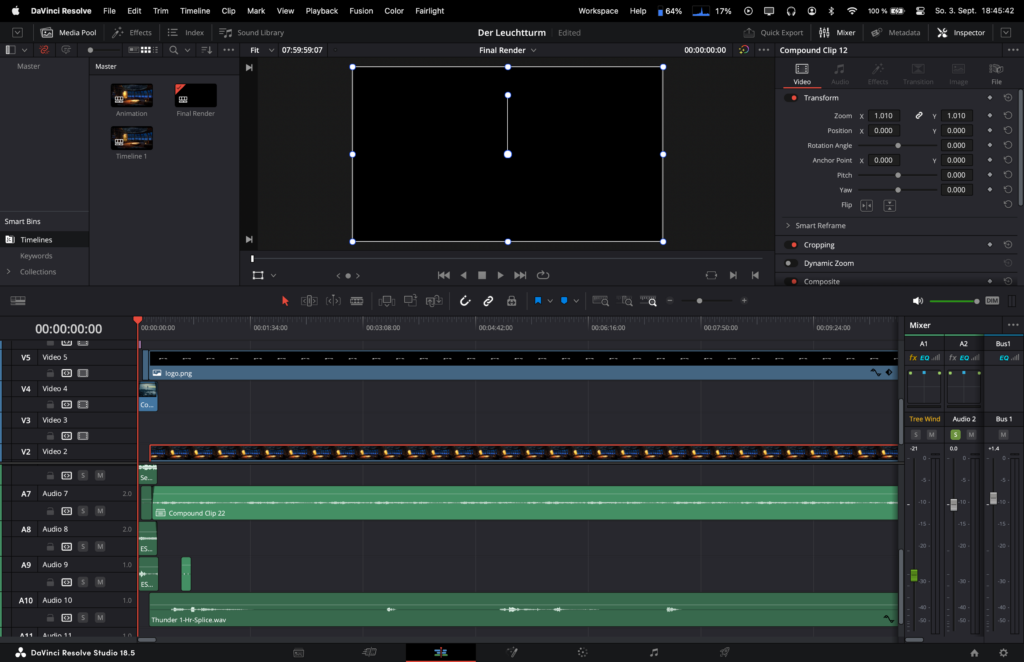
I use multiple timelines in Davinci. One for pre-rendering a small 5-10 minute portion, and the final timeline for sound-design. In the audio tracks you can see the sound design, and how I used a different sound in the beginning to match the virtual ambiance outside. Here’s the different animation layers and the layers zoomed in below:
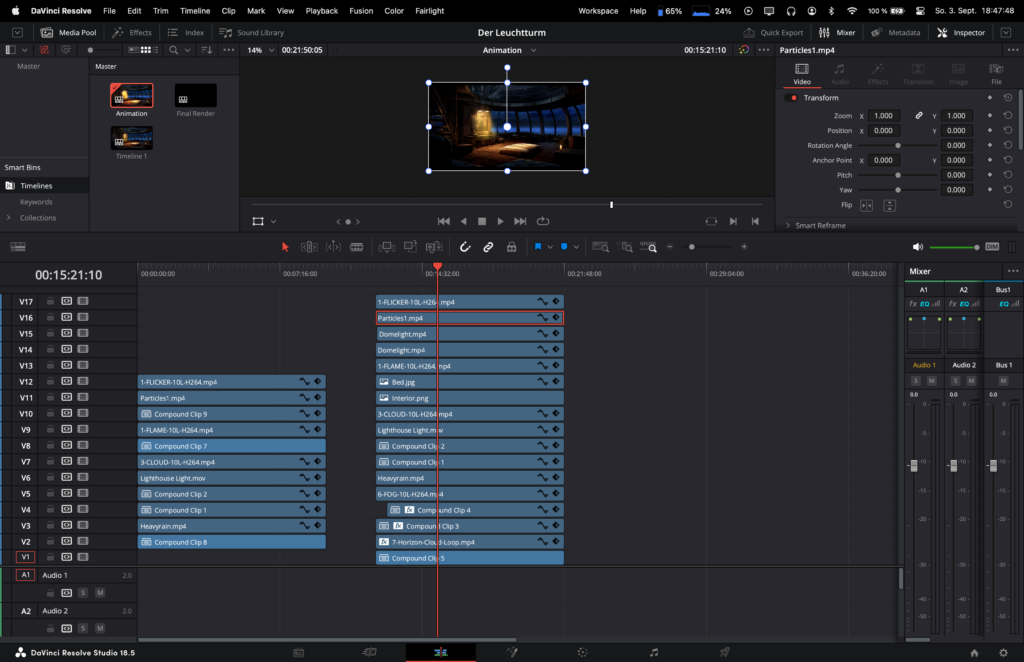
The first clip „bundle“ is the bright animation theme, the second one a dimmed one. In the final timeline, I fade after around 2 hours from the bright, to the dimmed one, which has a more moody theme to it.
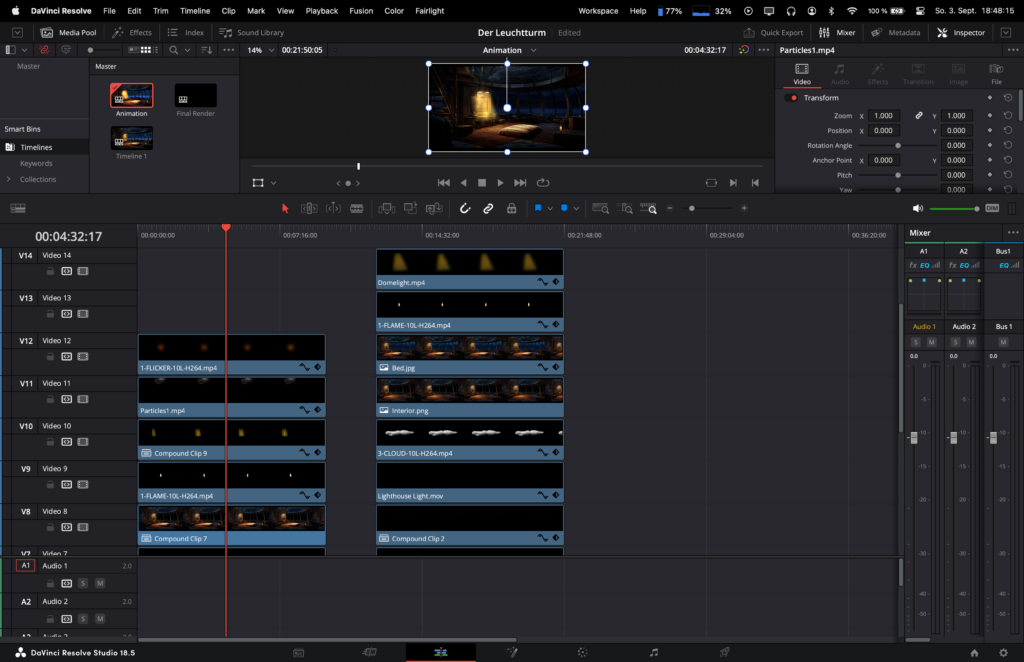
The video tracks are bigger here, to show the individual animation elements. Oh, and I also create masks…
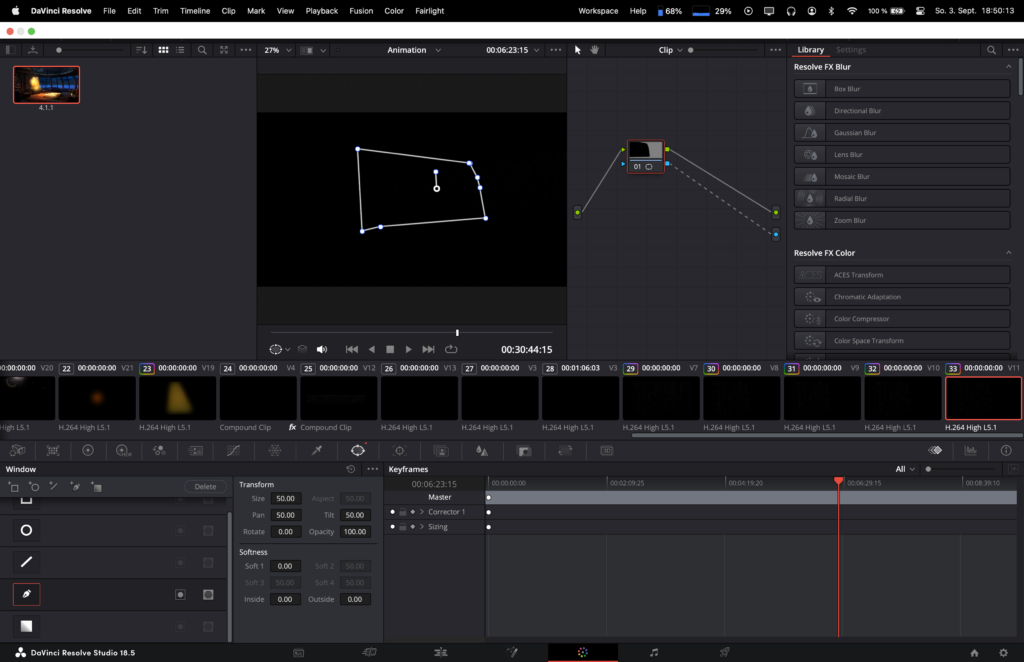
… like for the rain on the window pane. And here’s a look to the fusion tab for the sound design:
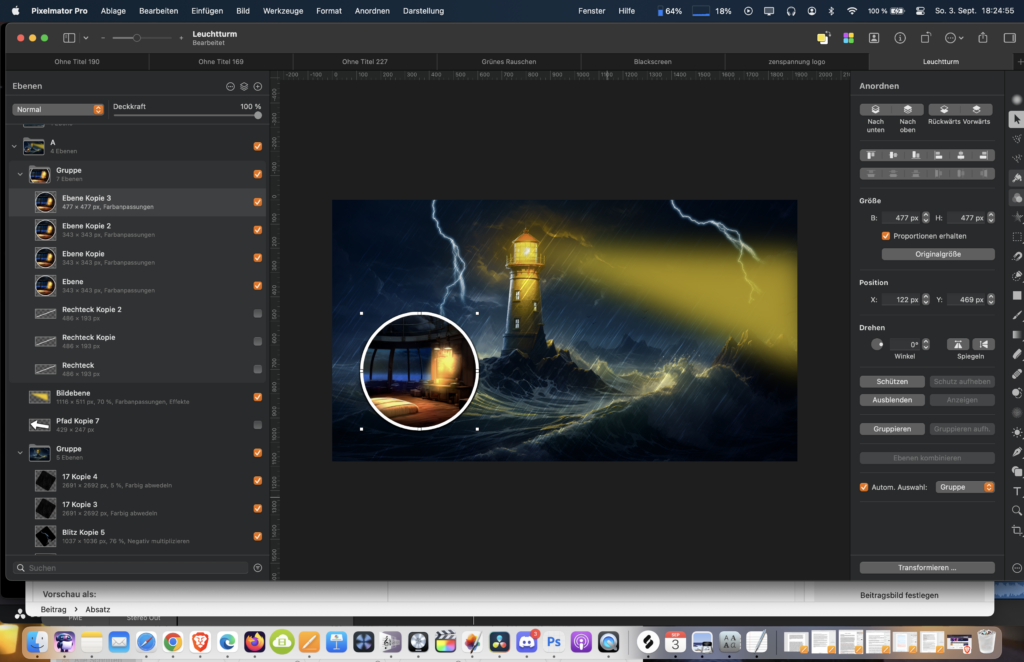
Last but not least the Thumbnail. I did some A/B variations, but this is my result in the current state in Pixelmator:
Noise video series
In this video series I uploaded the different static noises like brown noise, pink noise, white noise and more, alongside with soft rain sounds and a cozy ambiance. I liked the idea of adding a TV in the ambiance, so I created a mid journey generation as a base:
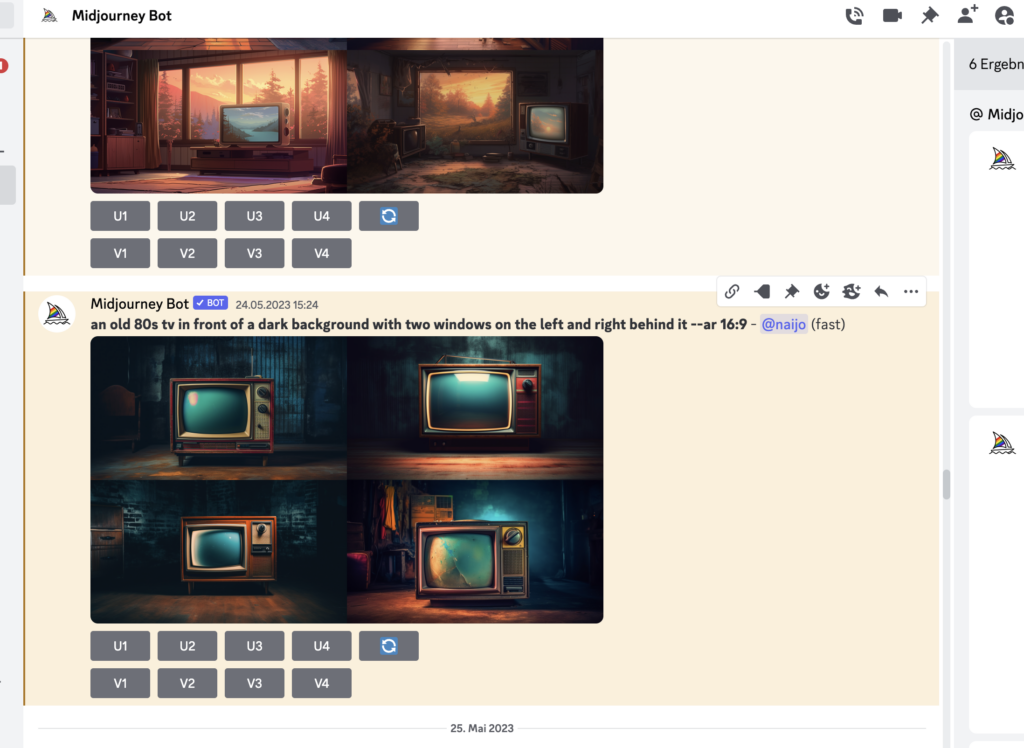
After choosing the second image, I then edited it in Pixelmator and changed the colors of the Image for the different noise varieties. I also created different layers for the animation. Here’s the final result that originated from the second image generation:
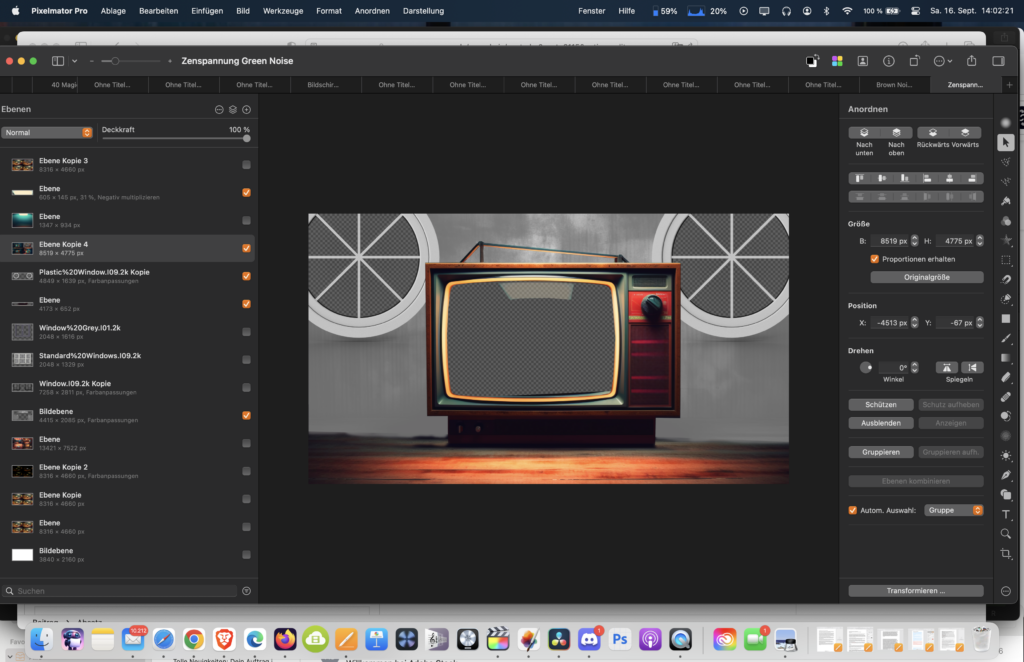
I changed the colors, windows and background like this for 5 different color variations. After the animation and sound creation using the test tone oscillator in Logic Pro, here’s the timeline in Davinci:
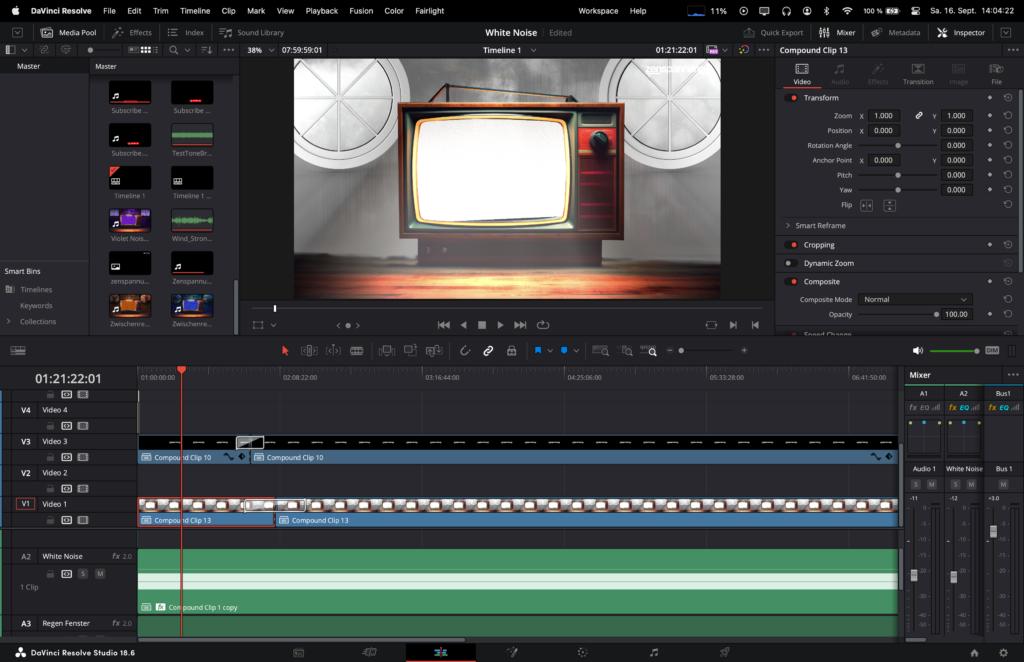
Lighting Effects used in Davinci: -Light Rays, -Aperture Diffraction, and – Glow. This adds a scenic lighting, compared to the original animation. Here’s how it looked before the effects:
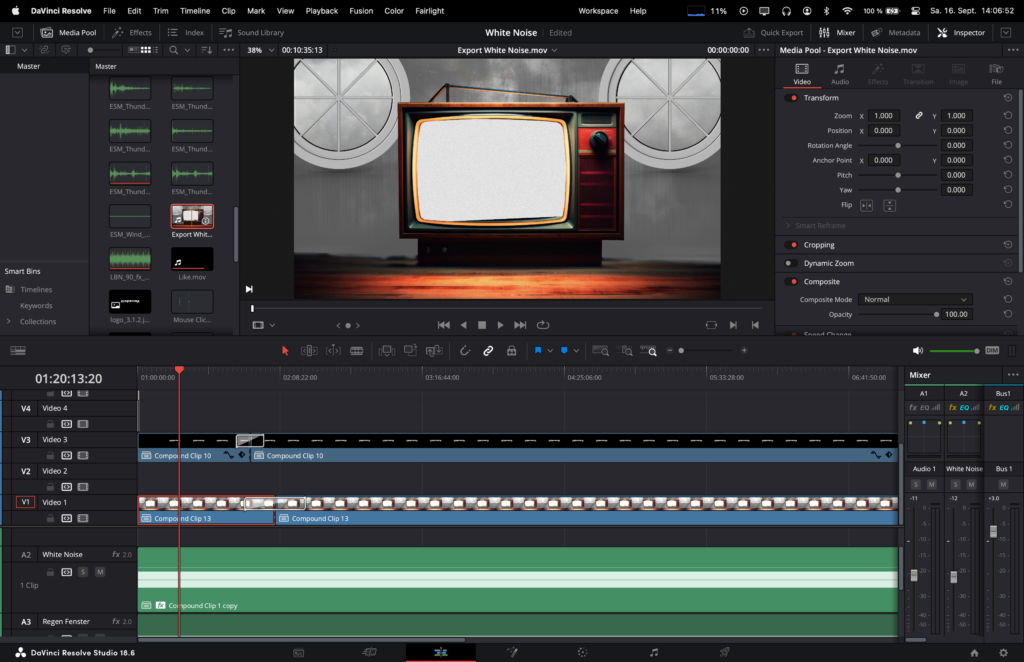
And here’s the sound design example for another noise video, the violet noise:
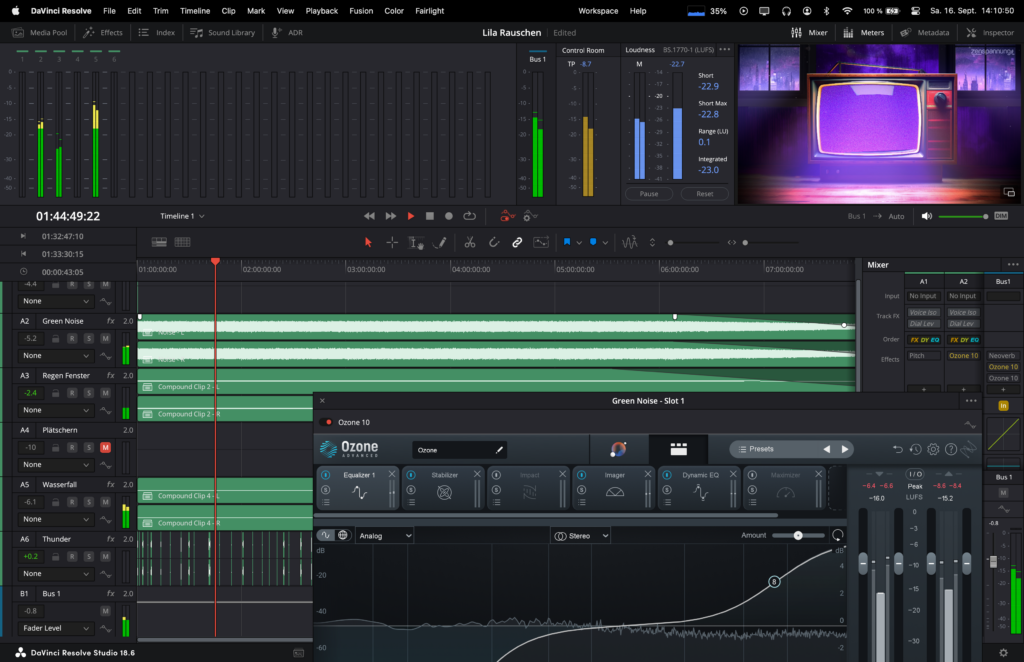
Halloween Village Animation
Here’s the behind the scenes of my Halloween Village ambiance. I generated the image with mid journey and animated it entirely from scratch using 20+ vfx assets, masks, effects and more. Here’s the prompt I used, which I then modified further using Photoshop’s AI feature:
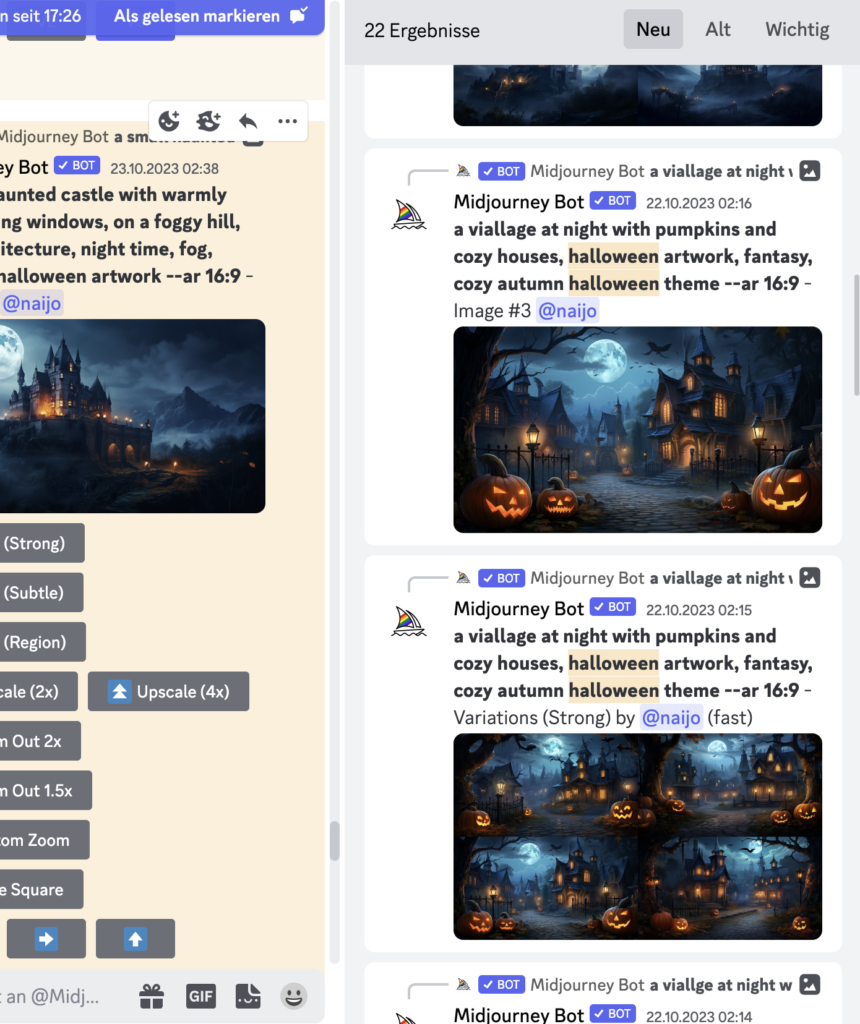
And here’s the animation, which this time, I made in Finalcut Pro:
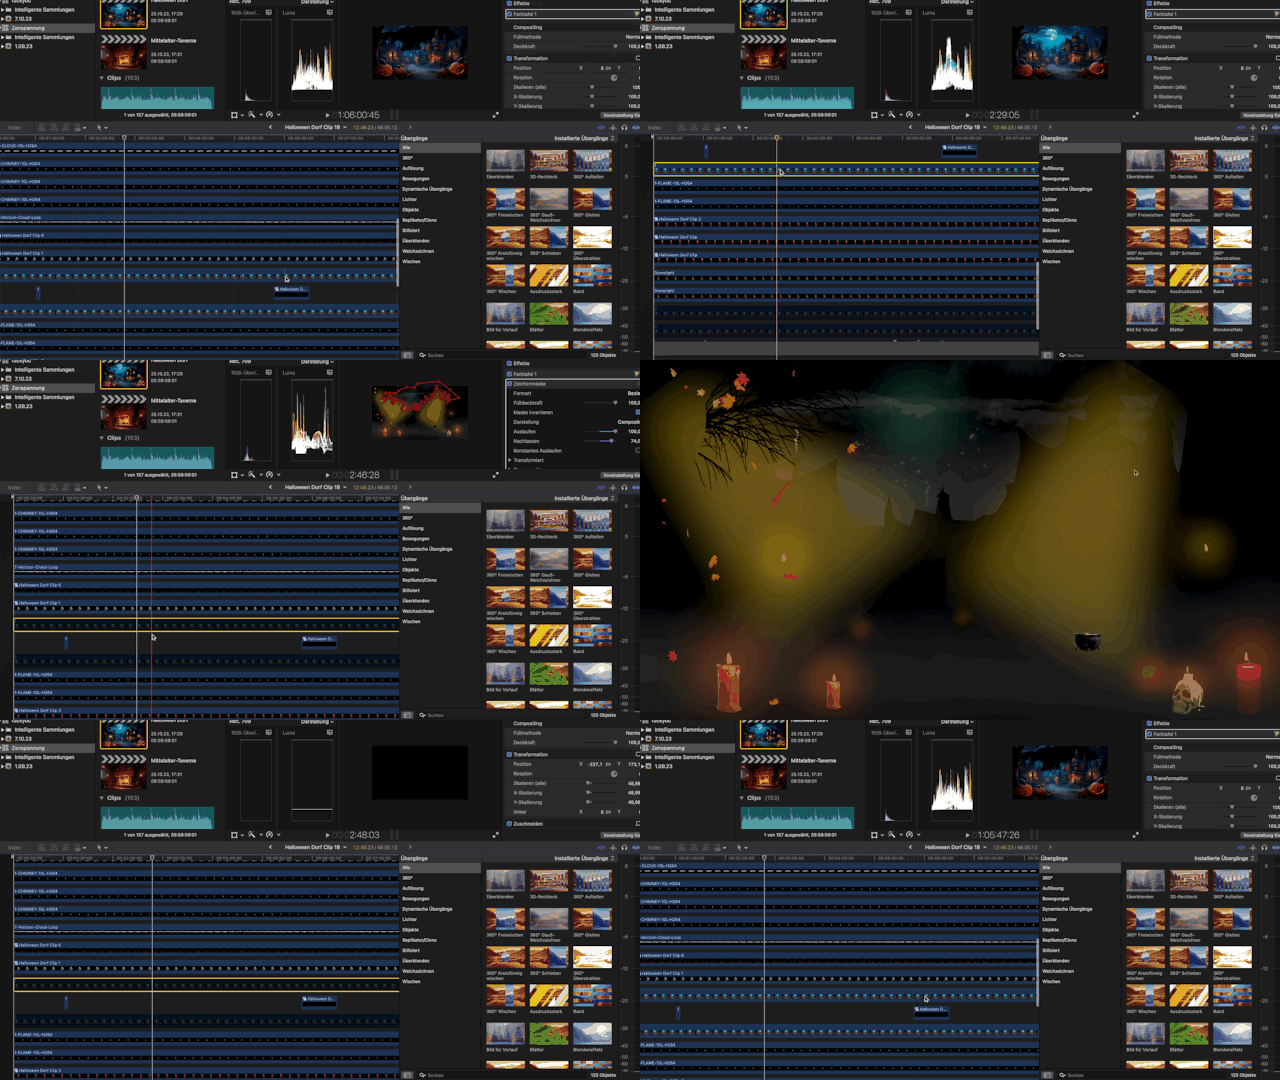
Real World Recordings
This October, I also recorded some new real world recordings, one by an ocean, and one in a seaward exhibition. I can use these as a layer of VFX for my ambiances, but have also planned to upload the recordings directly. I’ve been shooting on my A7siii with the Tamron 35-150 in SLOG-3, and then graded everything using phantom luts and some basic grading. Generally, I prefer the image from my Blackmagic Pocket 4K, despite the sensor being smaller, but Sony is far easier to record with…
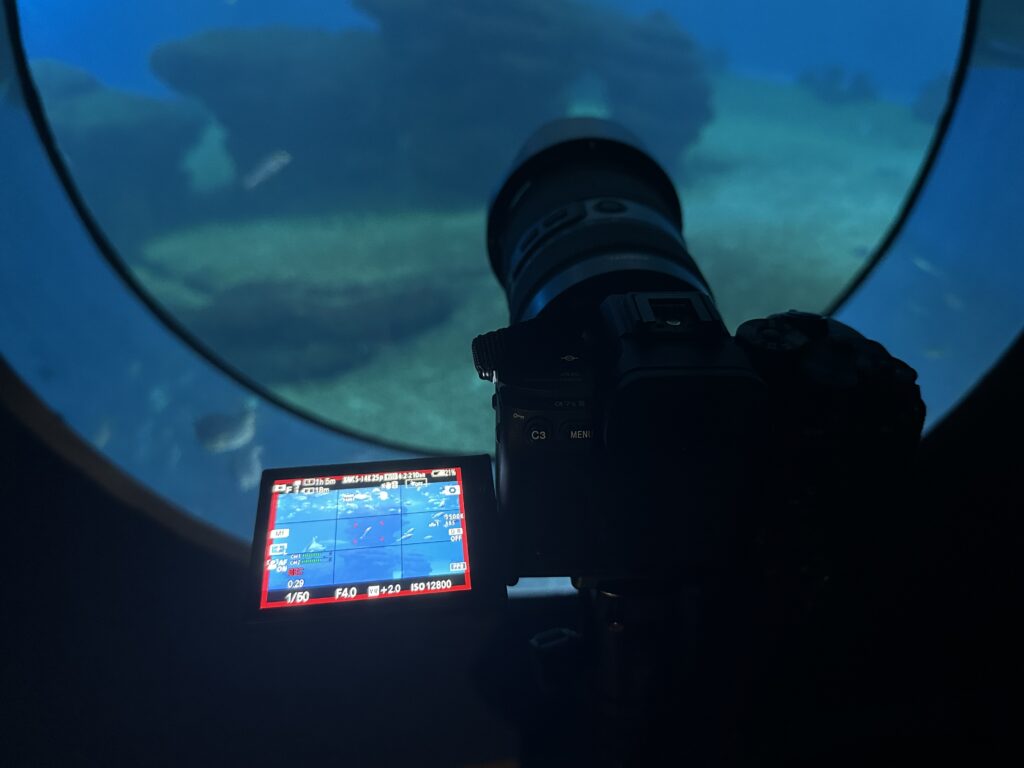
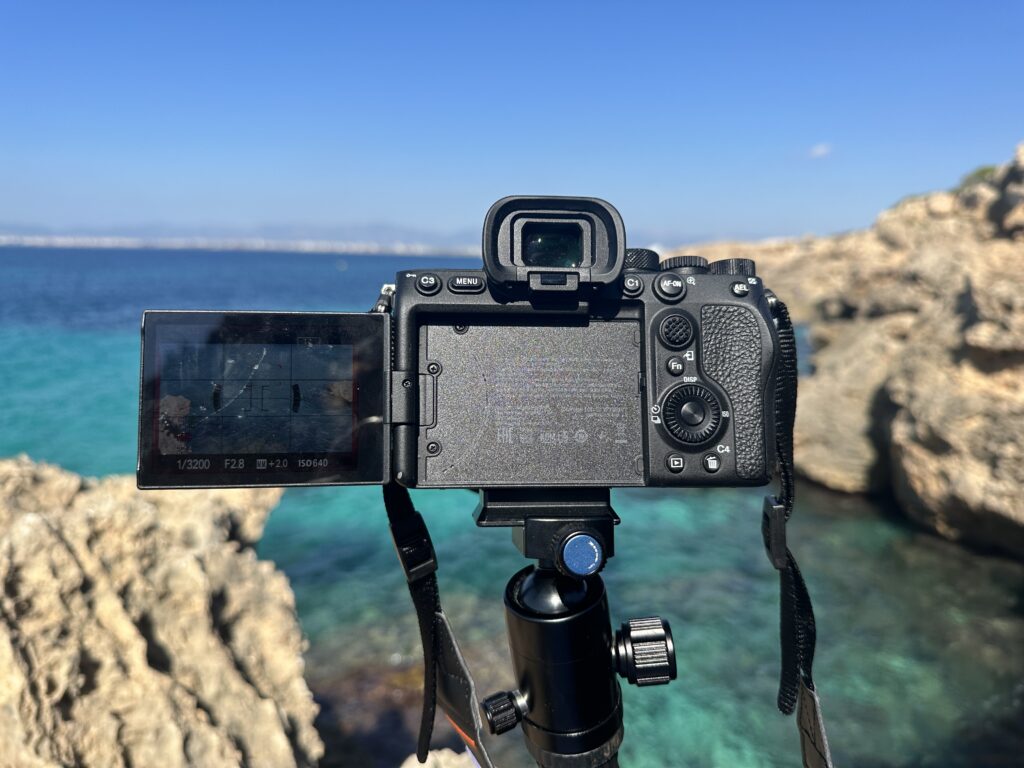
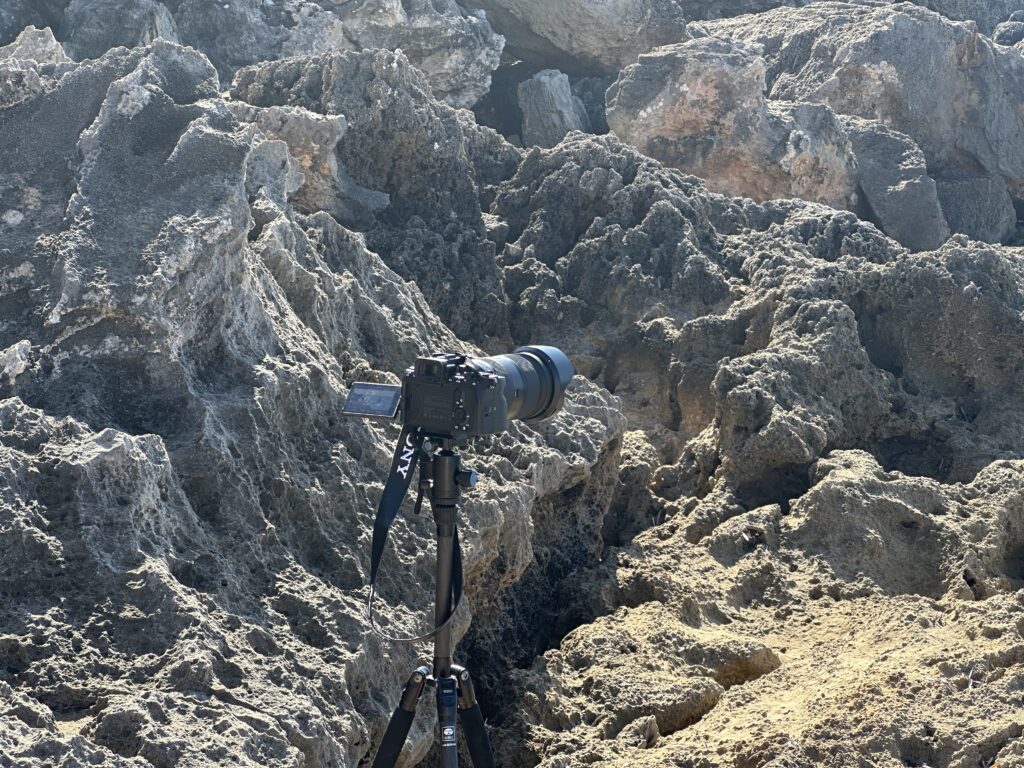
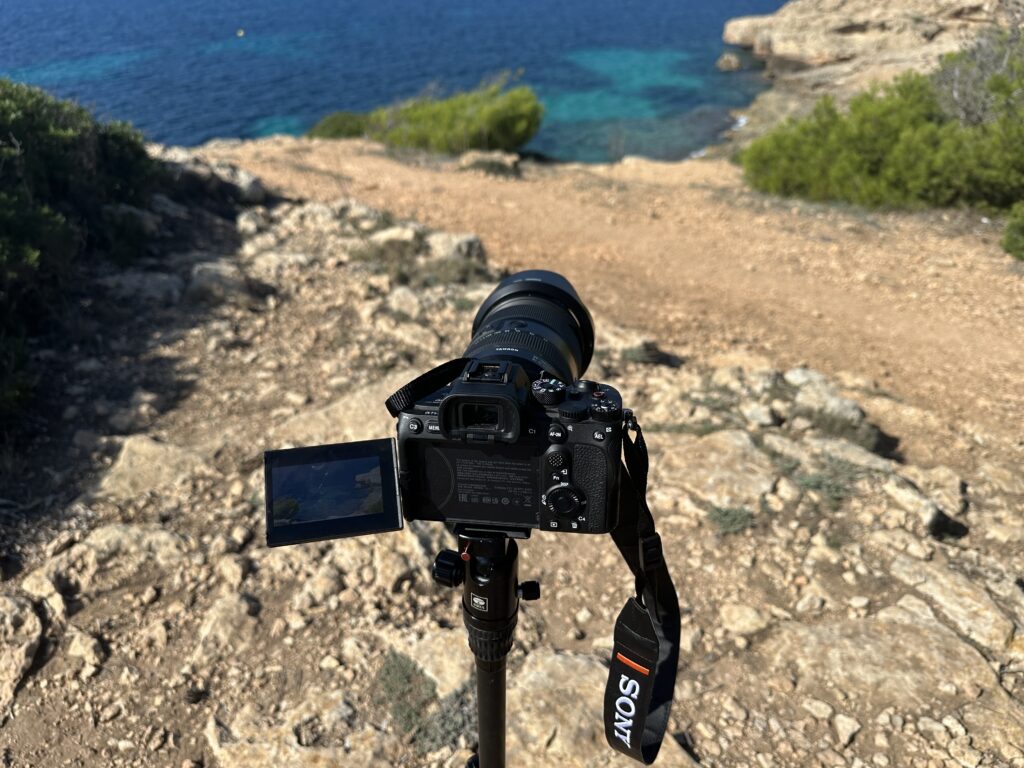
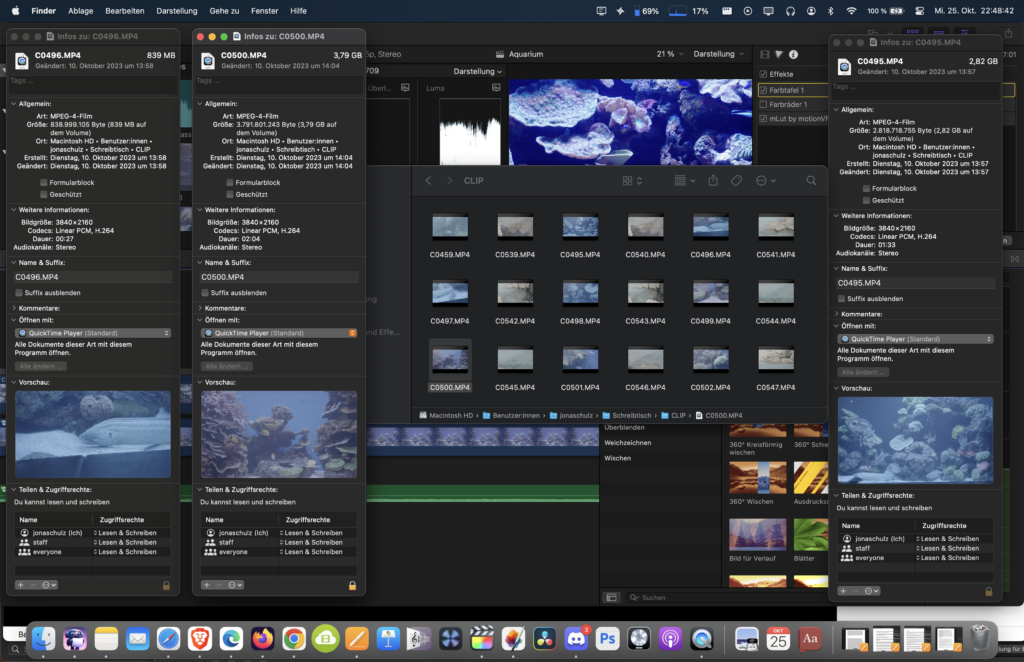
Here’s the timeline behind the aquarium video. You can see with the ongoing file numbers, e.g. „C0484“, that all files were from one continuous shot (no stock!) and how I graded the original SLOG3 files using phantom luts and some basic exposure + grading! 100% of the shots in the aquarium video have been done by me and they cannot be found anywhere else other than on my channel:
Here are all the original recordings in the folder:
That’s it! More to come soon!
